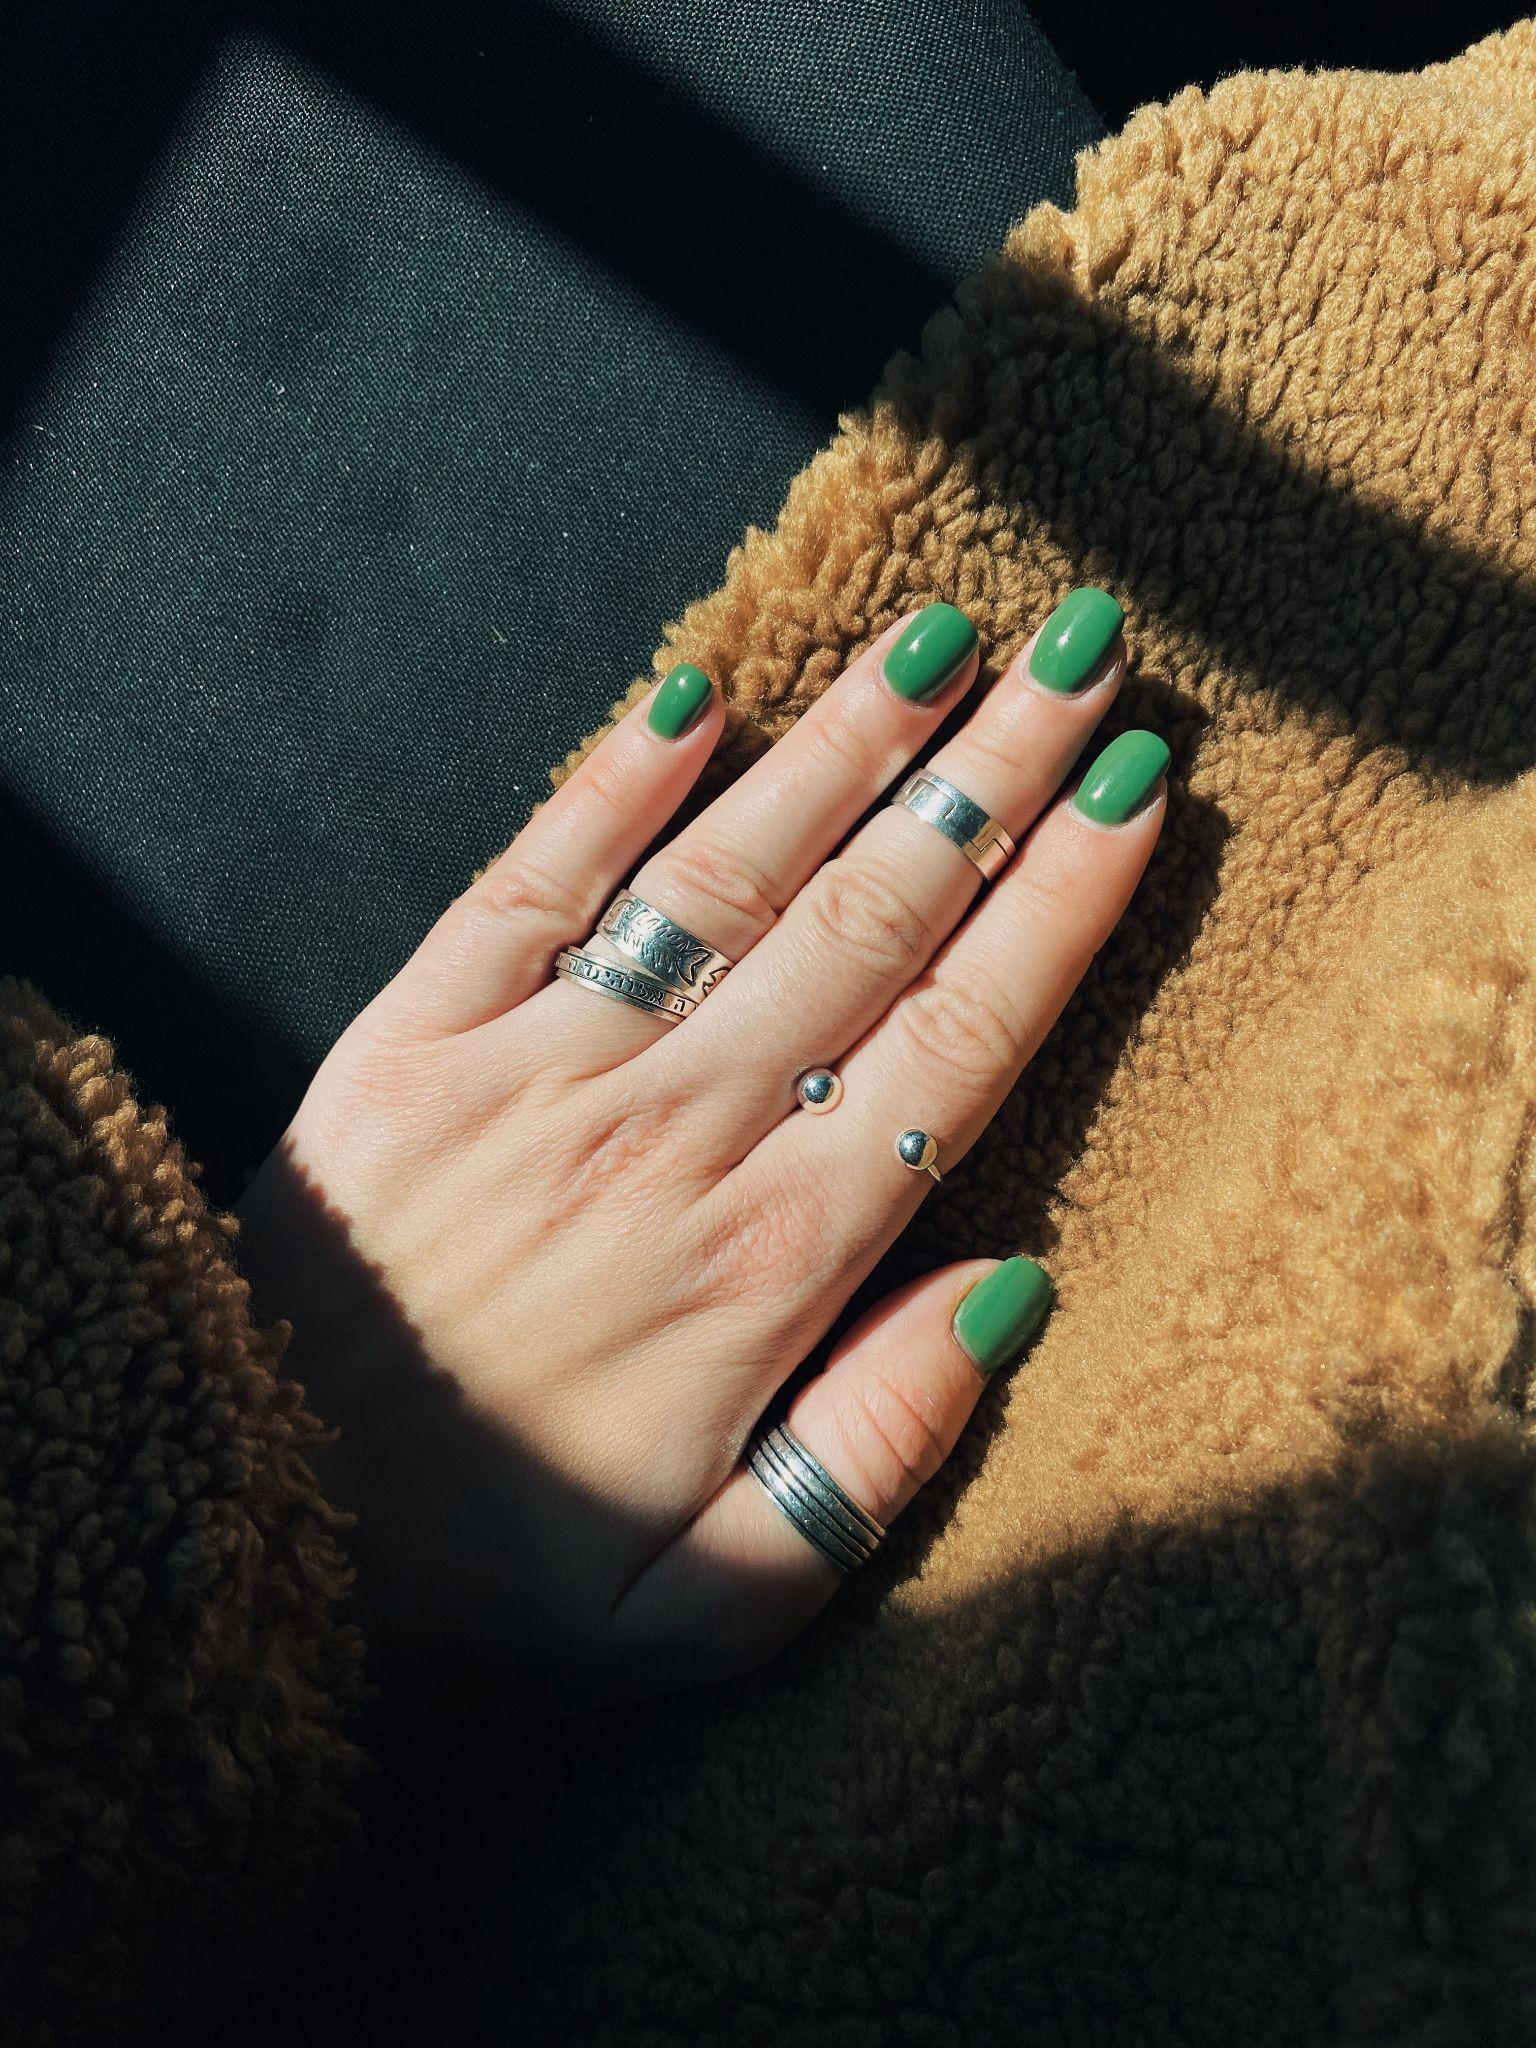
Do you want your nails to look as elegant as possible? Plenty of secrets can help you up your nail polish game! We gathered as many of them as possible in the article below.
So, make sure to keep reading. On with the nail tips!
1. Always Prep Your Nails
Table of Contents
You should always prepare your nails before opening your nail polish bottle. Remove your old nail polish and wash your hands, paying special attention to cleaning your nails. In doing so, you ensure your new nail polish has a blank slate to stick to.
When your nails are oily and dirty, it is harder for new gel nail polish to cling to them, so your manicure won’t last nearly as long. Plus, your nails will look much smoother when there’s no debris to get trapped under the color.
While it can be easier to simply paint over old nail polish, that polish has already started to lift, meaning your new coat will come off when it does. In short, you must always prepare your nails before painting them.
2. Use a Base and Top Coat

For the best effect, you’ll want to “sandwich” your nail polish between a base and top coat. You can use any color lighter than nail polish, with white being the best choice. Using white polish for a base provides the nail color with a blank slate to lay on.
Using a base also can strengthen brittle nails. For example, choosing a base coat that uses protein as an ingredient can help to keep your nails strong. There are many options if you’re looking for nail polish in Australia.
A base coat will also fill uneven nails with ridges so your final design doesn’t look bumpy.
Applying a top coat can keep your nails looking elegant. It can add more shine and extend the life of your nail polish by preventing it from chipping.
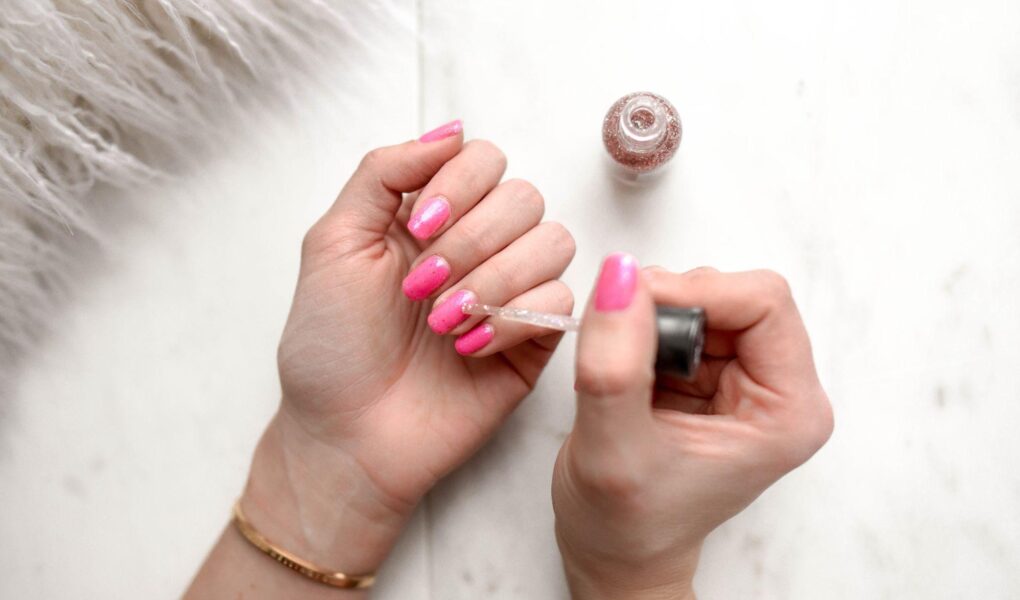
3. Seal the Tips
Wrapping, or sealing, the tips of your nails is another effective strategy to keep your manicure looking good for as long as possible. It’s also very easy to do and takes less than a second.
All you need to do is brush nail polish along the end of your nail to cap off the paint. You want to go slightly under your nails for the most protection. Essentially, you’re creating a nail polish seal around your entire nail, making it harder to chip off.
You should do this with any nail polish when you paint your nails. Make sure to cap your nails off with each layer of paint you add for the most benefits.
4. Use the Three-Stroke Technique
Next, you’ll want to apply each layer of nail polish using only three strokes. One should be in the center of the nail, then one on each side of that stroke. You’ll get even color coverage this way and won’t have streaks.
Keep in mind that less is more when it comes to nail polish. You don’t want to deal with globs of paint, which can take a long time to dry, so you’re more likely to smudge the color.
Long, slow, deliberate strokes are best for applying nail polish. The final results will be much more elegant looking if you take the time to practice this technique.
5. Roll, Don’t Shake the Bottle
Do you shake the polish bottle before applying the color? Rolling it gently between your hands can get much better results. Shaking the bottle can add air bubbles to the polish, which can cause bubbling to appear in your final application.
The smoother you can roll the polish bottle, the less air gets mixed into the color.
However, skipping mixing the polish before application isn’t good either. The paint could turn out unevenly, or the ingredients could be separated in the bottle.
6. Use Warm Water
If you’re using older nail polish, it could thicken, making it harder to apply. The paint might also come out much blobbier and take longer to dry. Luckily, it’s easy to fix nail polish that’s thickened.
You only need to set the bottle in a bowl of warm water for a few minutes. Doing this can thin the polish back out, making it useable again.
7. Try Quick Dry Drops
Quick dry drops use ingredients that evaporate quickly, drying your nail polish. This feature is convenient and makes painting your nails faster. Plus, you won’t have to worry as much about smudging and many drops come with formulas that add more shine to your nails, making them look more elegant.
They’re also super easy to use. All you need to do is apply the nail polish like normal, wait a few seconds, then drip a few quick dry drops on the color. Most quick dry drops also come with a brush to spread the solution around on your nails for more even coverage.
This tip is perfect for people who are always on the go. You can still get great results with nail color in a fraction of the time.
8. Make DIY Shades
Did you know you can make custom nail colors? All you need is two different shades and a small mixing palette. Combine the two colors on the palette and mix it with a toothpick until you get a shade you like. Experimenting with different nail shades is a lot of fun.
You can even make a lot of custom nail polish and store it in a clean, empty bottle to use later.
9. Try Out Nail Art Stickers
Nail art stickers can be fun and are simple to use. They’re a great option if you want to try nail art but aren’t sure of your skills. Applying them to a single color can completely change your final look.
Seal the stickers with a top coat so they don’t peel off!
Try These Elegant Tips To Up Your Nail Designs
To summarize, you can use plenty of secrets to create stunning nails. No matter what nail polish you use, these tips should work well for you.