Dip powder nails are more popular than ever. They look beautiful and last longer than most other manicures. Although it can be a bit pricier than a regular manicure or even gel nail polish, dip powder attracts because it provides an excellent medium for trying out various forms of nail art, which, due to its durability, will keep longer in a pristine state. Due to its different texture and application methods, dip powder can seem challenging to get outside a nail salon. However, all you actually need for a DIY dip powder manicure is a quality dip powder nail kit and to watch a good tutorial on how to apply it. Whether you intend to get a dip powder manicure from a nail technician at the salon or you want to try it yourself at home, you should first get informed about how dip powder works, how safe it is, ways to remove it, and how it compares to other nail products. In what follows, we offer you the complete guide to dip powder nails, from application to removal, and some nail art ideas to inspire you.
How does dip powder work?
Table of Contents
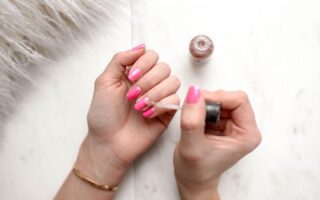
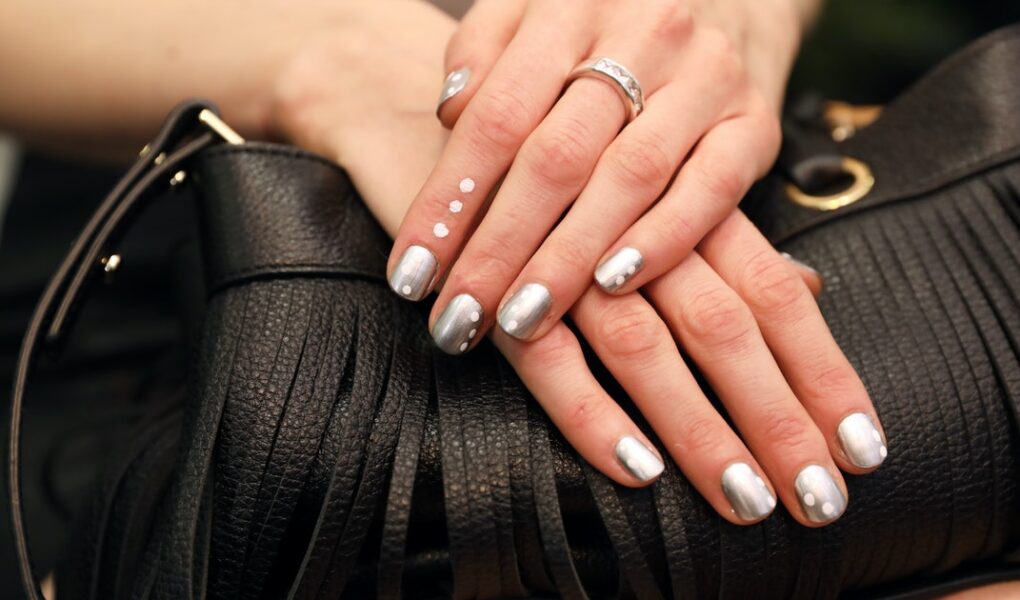
At home or at the salon, dnd dip powder application looks pretty much the same. You start by choosing the colors and the pattern for your nail art. Remember that dip powder is an excellent medium for nail design. Combine two or more colors to obtain subtle ombre effects, or to color each of your fingers differently. Everything looks better when it sparkles, so make the bold move and add glitter to the mix. There is an incredible number of dip powder glitter nuances and shapes. Sparkle will lend any color, no matter how dull, that touch of glamour that we all need. Turn your hands into a rainbow of fun by adding glitter powder to your powder dip nails layering.

Once you choose the colors, the application process should be fairly simple and can be summarized in the following steps:
Cleaning – All residual traces of nail polish from previous manicures have to be removed with acetone.
Buffing– The next step is to gently buff your nails so that they are prepared for the application of multiple layers of nail polish.
Shaping– Then, cut the nails into the shape you want and push back your cuticles.
Primer application– Apply the first layer of the base coat.
Dipping– Dip each finger into the dip powder jar and dust off the excess powder.
Repeating the process– Apply another layer of base coat and dip your fingers into powder. Repeat the process until you get the desired color intensity and pattern.
Applying gel top coats– Apply the first layer of gel top coat and let it dry for about two minutes. Apply a second coat of gel top and let it air dry until all the layers applied are completely hardened and the color fixed. Finish off by moisturizing your hands: apply cuticle oil on your nails and use hand cream on your hands.
The Benefits of Dip Powder Nails
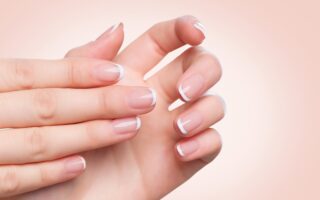
Why should you choose dip powder nails over other types of nail polish? First of all, because they last longer while still looking good. Provided that you take care of them, that is you avoid handling corrosive substances or soaking your hands in water for too long, dip powder nails can last for as long as four or even five weeks. Plus, they can be easier to apply and dry, particularly because they do not require curing under a UV/ LED lamp. And, of course, they look spectacular and are the ideal medium for you to get creative with your nail designs.
Dip powder nails vs. gel nails
Dip powder nails or gel nails? Well, that is THE question when it comes to current nail trends. Applied correctly and taken care of well, both types of manicure will look great for a long time, with dip powder nails lasting slightly longer. However, dip powder manicures tend to be a bit more expensive than gel manicures, but they compensate by lasting longer. The biggest difference probably lies in the curing process. Gel nail polish requires a UV/LED lamp to harden while dip powder nails will harden by air drying. Which one is my personal favorite? I like them both, but given a choice, I go for dip powder, for convenience’s sake. The dip powder option means that I could enjoy my manicure for a week or even two longer than a gel manicure.
Is dip powder safe?
Yes, as long as sanitary rules are followed. The greatest risk of getting dip powder nails comes from multiple clients dipping their nails in the same nail dip powder jar at the salon. Multiple people dipping in the same jar exposes you to get an infection and you should make sure that a different jar is used for every client or that the powder is poured on your fingers and the surplus is not used on other clients of the salon. Of course, you are not running this risk if you opt for at-home dip powder manicures.
How to choose an at-home dip powder nail kit
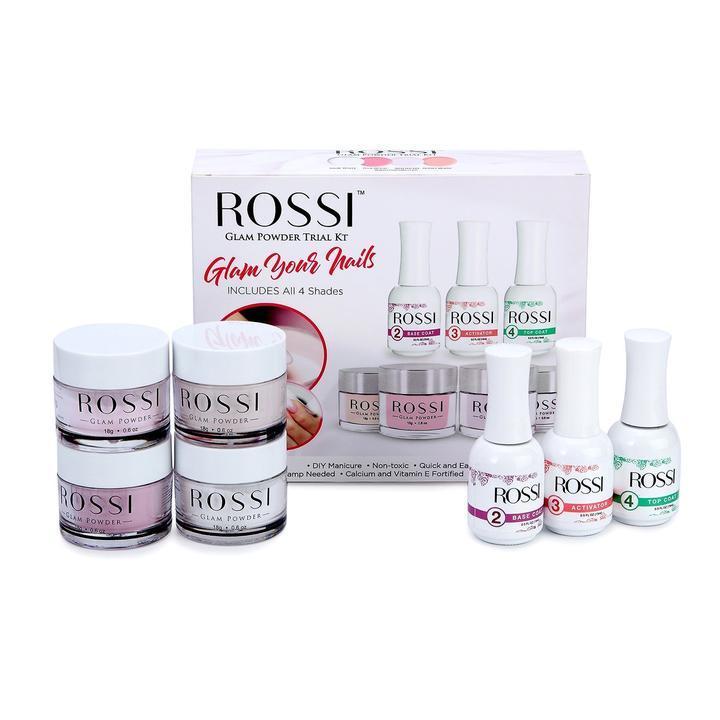
A good nail dip powder kit ensures that you can achieve salon-quality results at home. There are a lot of dip powder kits out there and you might need some guidance to pick the one that suits you best. A kit that ensures salon-level dip powder nails at home needs to contain at least the following items: base coat, top coat, activator, and dip powder jars in as many colors as you like. However, you might want to select a kit that also comes with some nail art equipment: dipping trays, nail brushes, cuticle pusher, and nail filers. Whatever your color preferences, you should make sure that the kit you are buying also contains at least a jar of clear dip powder. It’s the best dip powder base, and you will need it to create different mixes of colors or as a canvas on which to create your own patterns.
To conclude
Dip powder nails definitely are worth trying out. They are less harmful to the nail than acrylics and gels. They also chip less, and last longer. Plus, they don’t require a UV or LED lamp to harden. Sure, they are a bit pricier, and you need to make sure that they are applied correctly, following sanitary measures. On balance, the extra care is more than reworded by their many advantages and their gorgeous lasting look.